
Merck Animal Health
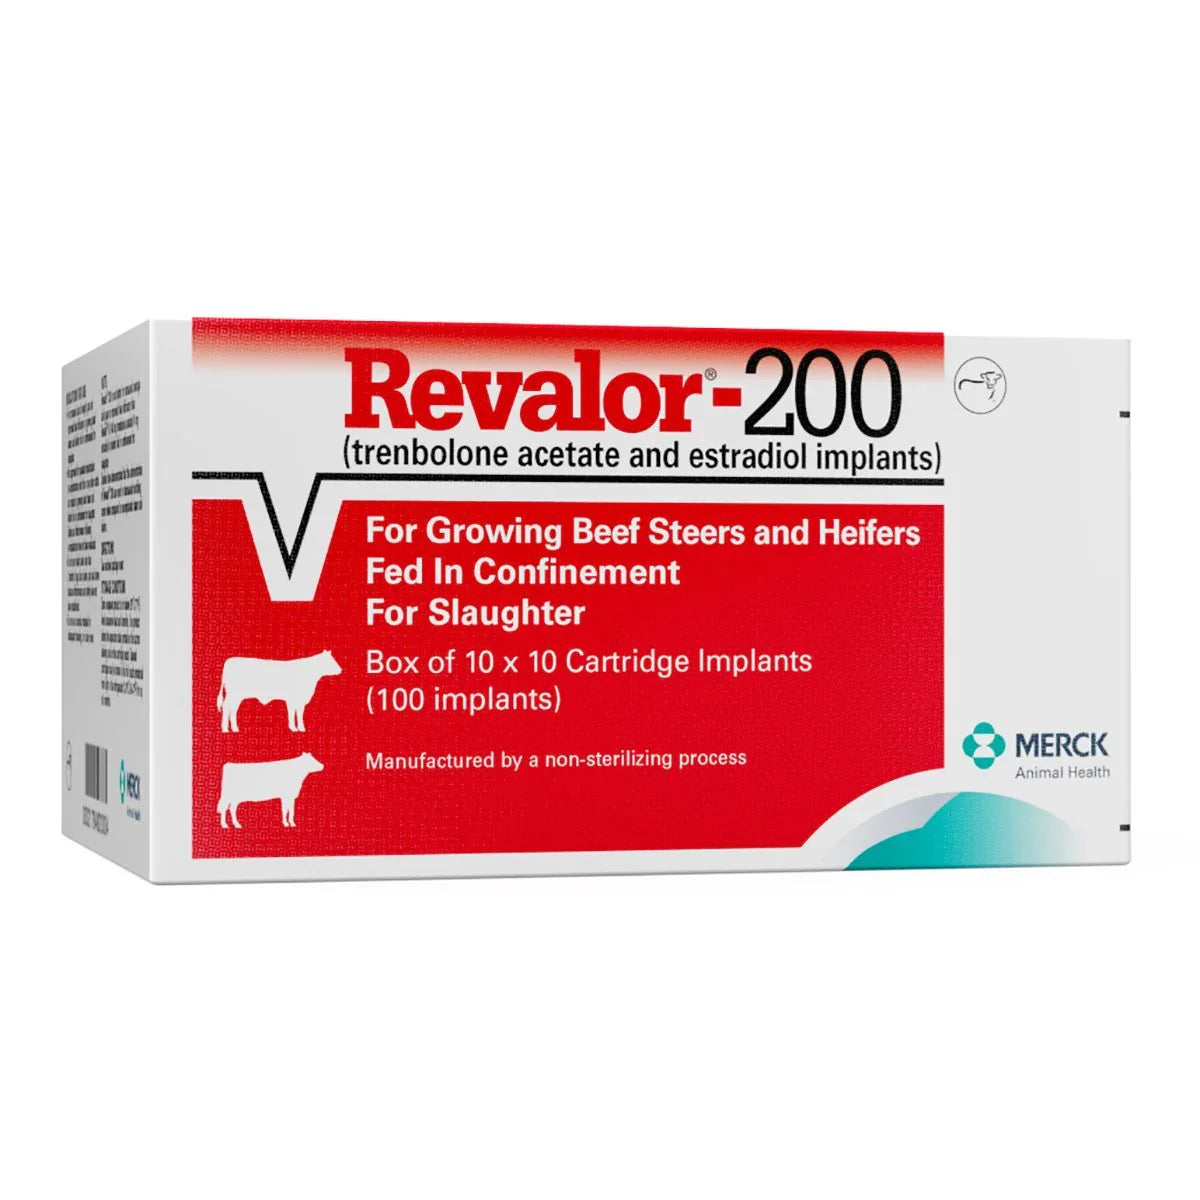
Revalor-200 for Growing Steers and Heifers
Revalor-200 for Growing Steers and Heifers
Couldn't load pickup availability
Revalor-200 for Growing Steers and Heifers implants contain 200 mg trenbolone acetate and 20 mg estradiol. A slow-release delivery system which increases rate of weight gain and improves feed efficiency. Not for use in animals intended for subsequent breeding or dairy animals. Do not use in veal calves. Each implant consists of 10 small yellow pellets. Ten implants are provided in a cartridge.
Apply with Revalor Impant Gun (sold separately).
This item cannot be shipped to California.
Revalor-200 Features & Benefits
- Cattle implants indicated for increased rate of weight gain and improved feed efficiency in steers and heifers fed in confinement for slaughter
- Box of 10 x 10 cartridge implants (100 dose)
Directions for Use:
The cartridge is designed to be used with Revalor Implant Gun. Ten doses (implants) are in each cartridge. The implant is placed under the skin on the posterior aspect of the ear (see SITE OF IMPLANTATION and METHOD OF USE sections).
With the animal suitably restrained, the skin on the outer surface of the ear should be cleaned. The implant is then administered by the method shown in the diagram below:
Fig. 1 - Ear of Bovine Ready for Implantation
Site of Implantation:
After appropriately restraining the animal to allow access to the ear, cleanse the skin at the implant needle puncture site. It is subcutaneous between the skin and cartilage on the back side of the ear and below the midline of the ear. The implant must not be placed closer to the head than the edge of the cartilage ring farthest from the head. The location of insertion of the needle is a point toward the tip of the ear and at least a needle length away from the intended deposition site. Care should be taken to avoid injuring the major blood vessels or cartilage of the ear.
Fig. 2 - Rear View of the Bovine Ear Showing the Site for Insertion of the Implanter Needle
Method of Use:
1. Do not remove the cap of the cartridge containing the implants.
2. Place the cartridge (D) (with the capped end to the front) into slot at the top of the implanter magazine (marked A on the diagram).
3. Gently push the cartridge into the slot until it clicks into place.
4. The implanter is then ready for use.
5. Take the ear of the animal firmly with the free hand (in the manner shown in Fig. 1). Then insert the needle into the subcutaneous tissue at the point indicated (in Fig. 2).
6. After inserting the needle to its full extent, squeeze the trigger (E) gradually. Allow the pellets of the implant to be deposited in a single row.
7. Withdraw the implanter. This will advance the cartridge one groove in the magazine and the next implant is now ready for use.
8. When all the implants have been administered, the cartridge will fall out of the bottom of the magazine and may be replaced by a new one.
9. To change the needle, loosen the needle locking nut (labeled F in Fig. 3) and replace the needle. Tighten the nut finger tight and the implanter is ready for use.
Fig. 3 - Diagram of the Implanter and Cartridge
Withdrawal Periods and Residue Warnings:
No withdrawal period is required when used according to labeling.
Do not use in beef calves less than 2 months of age, dairy calves, and veal calves. A withdrawal period has not been established for this product in pre-ruminating calves.
Do not use in dairy cows or in animals intended for subsequent breeding. Use in these cattle may cause drug residues in milk and/or calves born to these cows.
Implant pellets subcutaneously in ear only. Any other location is a violation of Federal law. Do not attempt salvage of implanted site for human or animal food.
Storage:
Store unopened product at or below 25°C (77°F). Avoid excessive heat and humidity. Use product before the expiration date printed on the carton labeling and on the cartridge pouch. Opened cartridges may be stored in the foil pouch protected from light in the refrigerator (2-8°C/36-47°F) for up to 6 months.
Manufacturer and/or Label Information
Manufacturer and/or Label Information
Dimensions
Dimensions
Care information
Care information
Let customers speak for us
I recently bought a River Gambler Palm hat from them and I'm loving it!
I found no issues with the seller's communication or the delivery of my purchase!
I strongly recommend this business


This is a great choice if you have an animal that does not like loud noise!

The new Crown Cap is awesome. It isn’t quite as heavy fabric as his old one but he actually likes it better so it’s a win, win. Highly recommend and the service was great. Thank you.

If you have ever tried to loosen or tightened a Chicago screw they can be a pain.This tool is great.The people at Houlihan were fast in midst of holiday season.Buy from them you will never regret it


Great for horses that are nervous or tight in their atlas TMJ area.


My grandson was happy to receive the plaid check stockman cap. It arrived just in time for Christmas.
Thank you,
Debbie


Beautifully and well made knife and sheath with great service from the folks at Houlihan.


Great prices & great follow-up on ordering & shipping process.